Hardwood Floor Sanding
Multi-pass dust-containment sanding that brings hardwood floors back to bare wood — the essential first step in refinishing or restoring any hardwood floor.
The Equipment
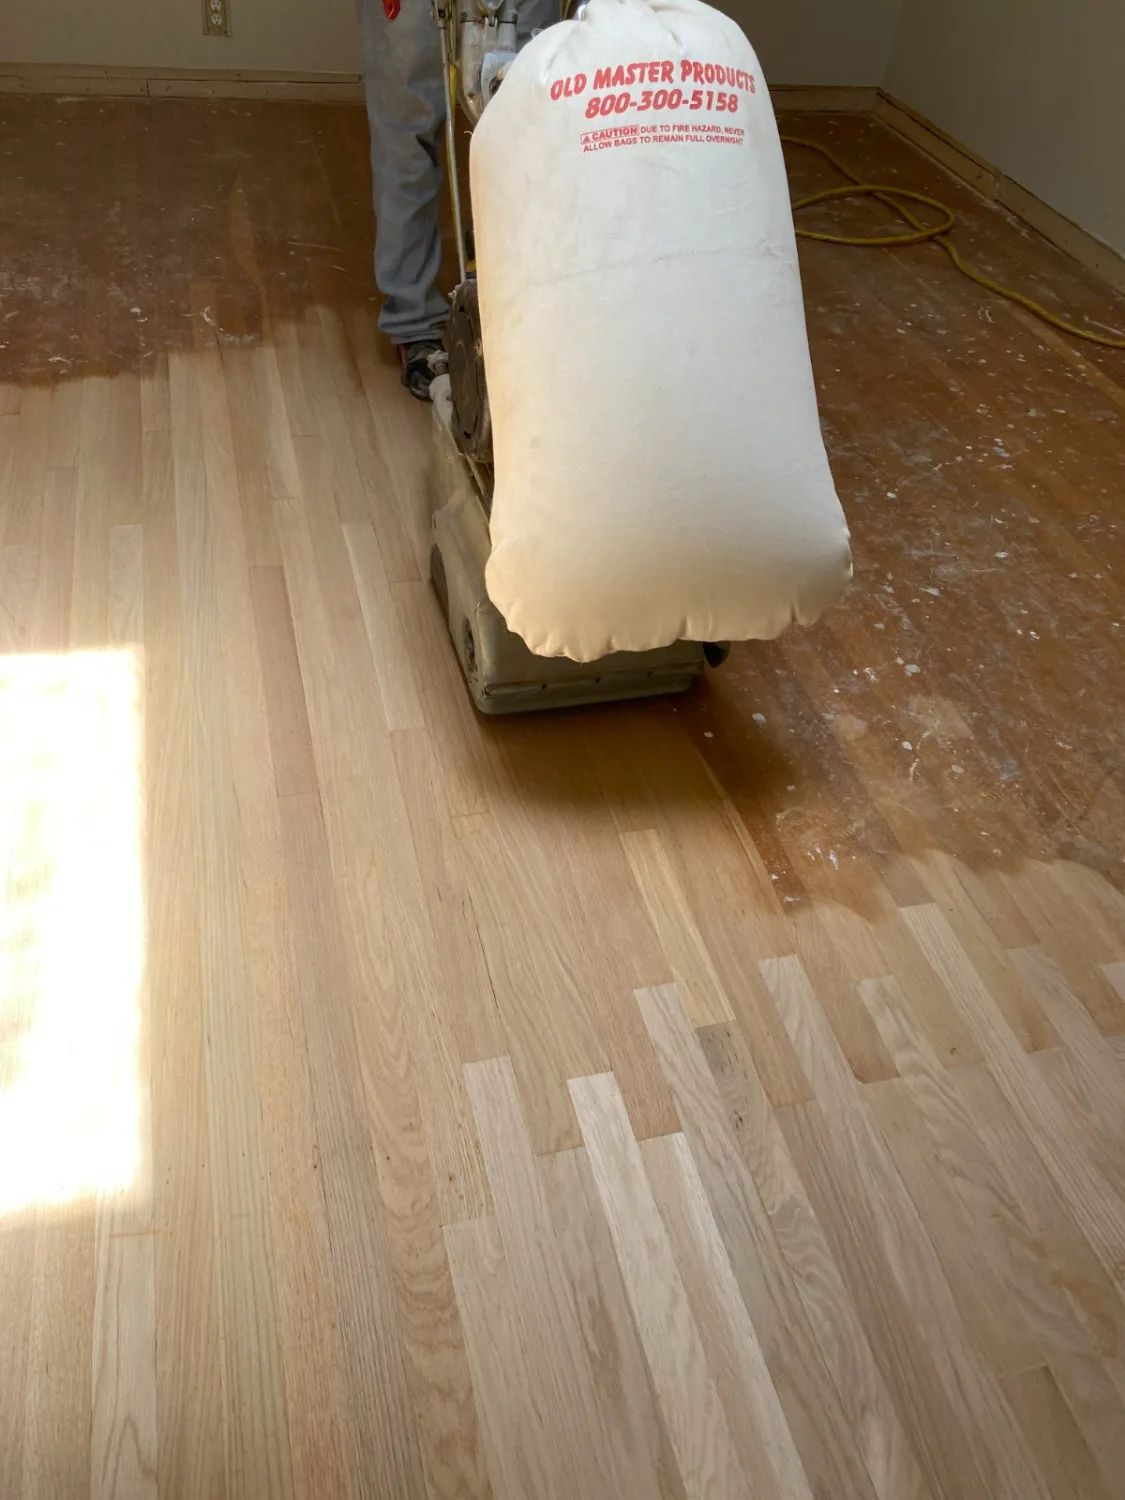
Modern dust-containment sanders.
We use commercial dust-containment drum sanders and edgers that capture 95% or more of the dust at the source. Your home stays livable during the work — art stays on the walls, the kitchen stays usable, and HVAC stays clean.
Old-school sanding without containment makes a mess of the whole house. We don’t work that way.
- 95%+ dust containment at the source
- Drum sander for the field, edger for corners and walls
- HEPA filtration in our vacuum systems
- Sealed off work zones with plastic sheeting
The Technique
Three passes,
glass smooth.
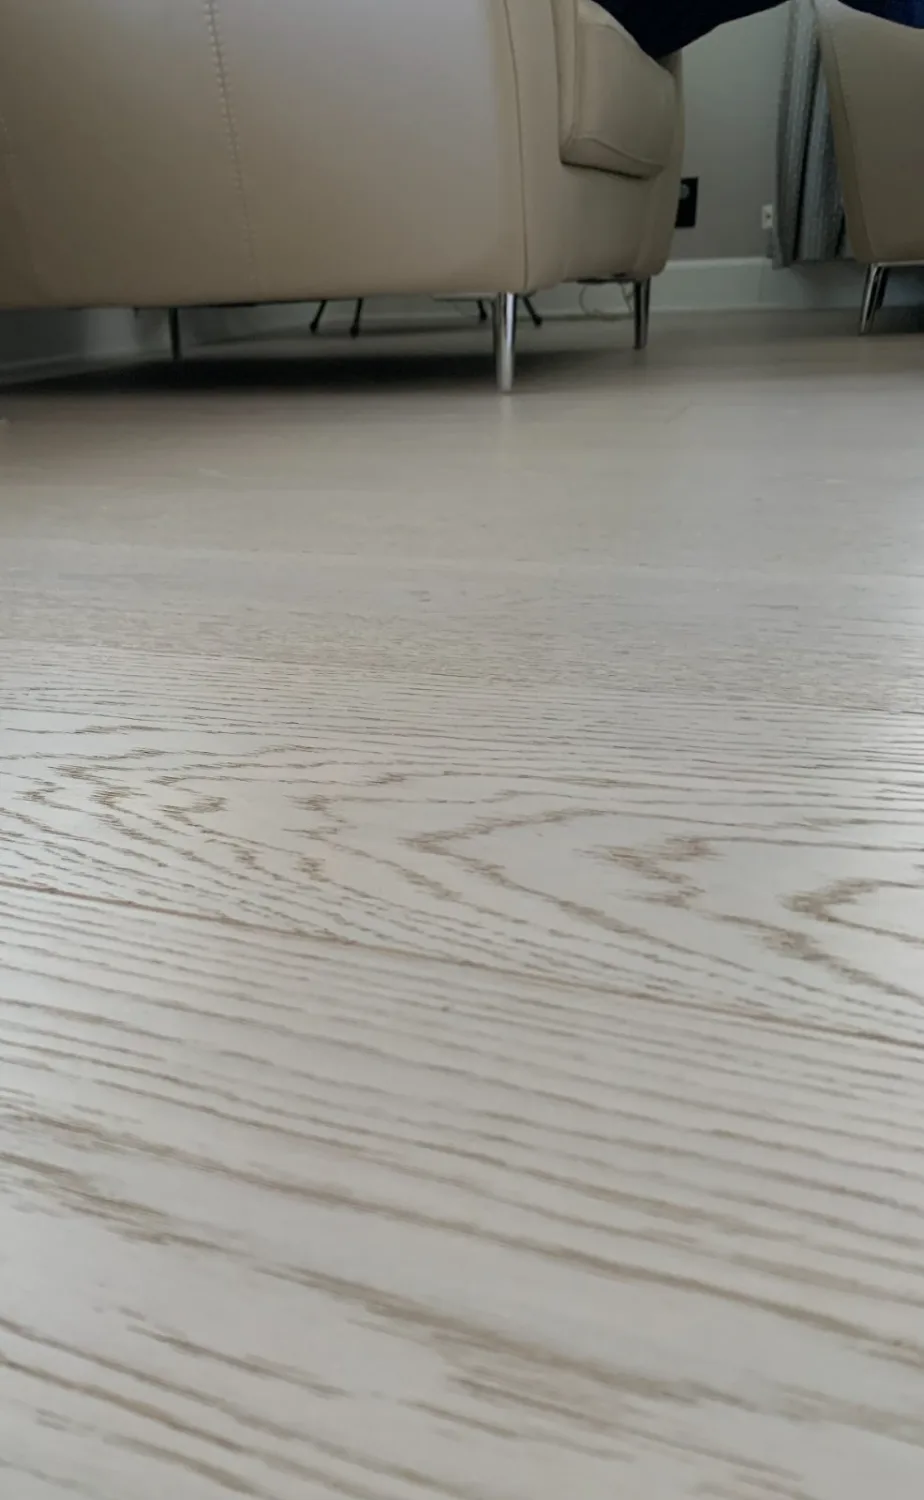
Floor sanding done right is a three-pass process. Rough grit removes the old finish, medium grit levels the wood, and fine grit prepares the surface for stain or finish. Skip a step and you’ll see it in the final result.
Edges, corners, and stairs are hand-finished with a smaller orbital sander or by hand. The seam between the field and the edges should be invisible — that’s the test of a good sand.
- 3-pass sanding: rough, medium, fine grits
- Hand-finished edges and corners
- Screen-and-recoat option for floors that just need a refresh
- Smooth, flat surface ready for stain or finish
When You Need Sanding
What sanding actually fixes.
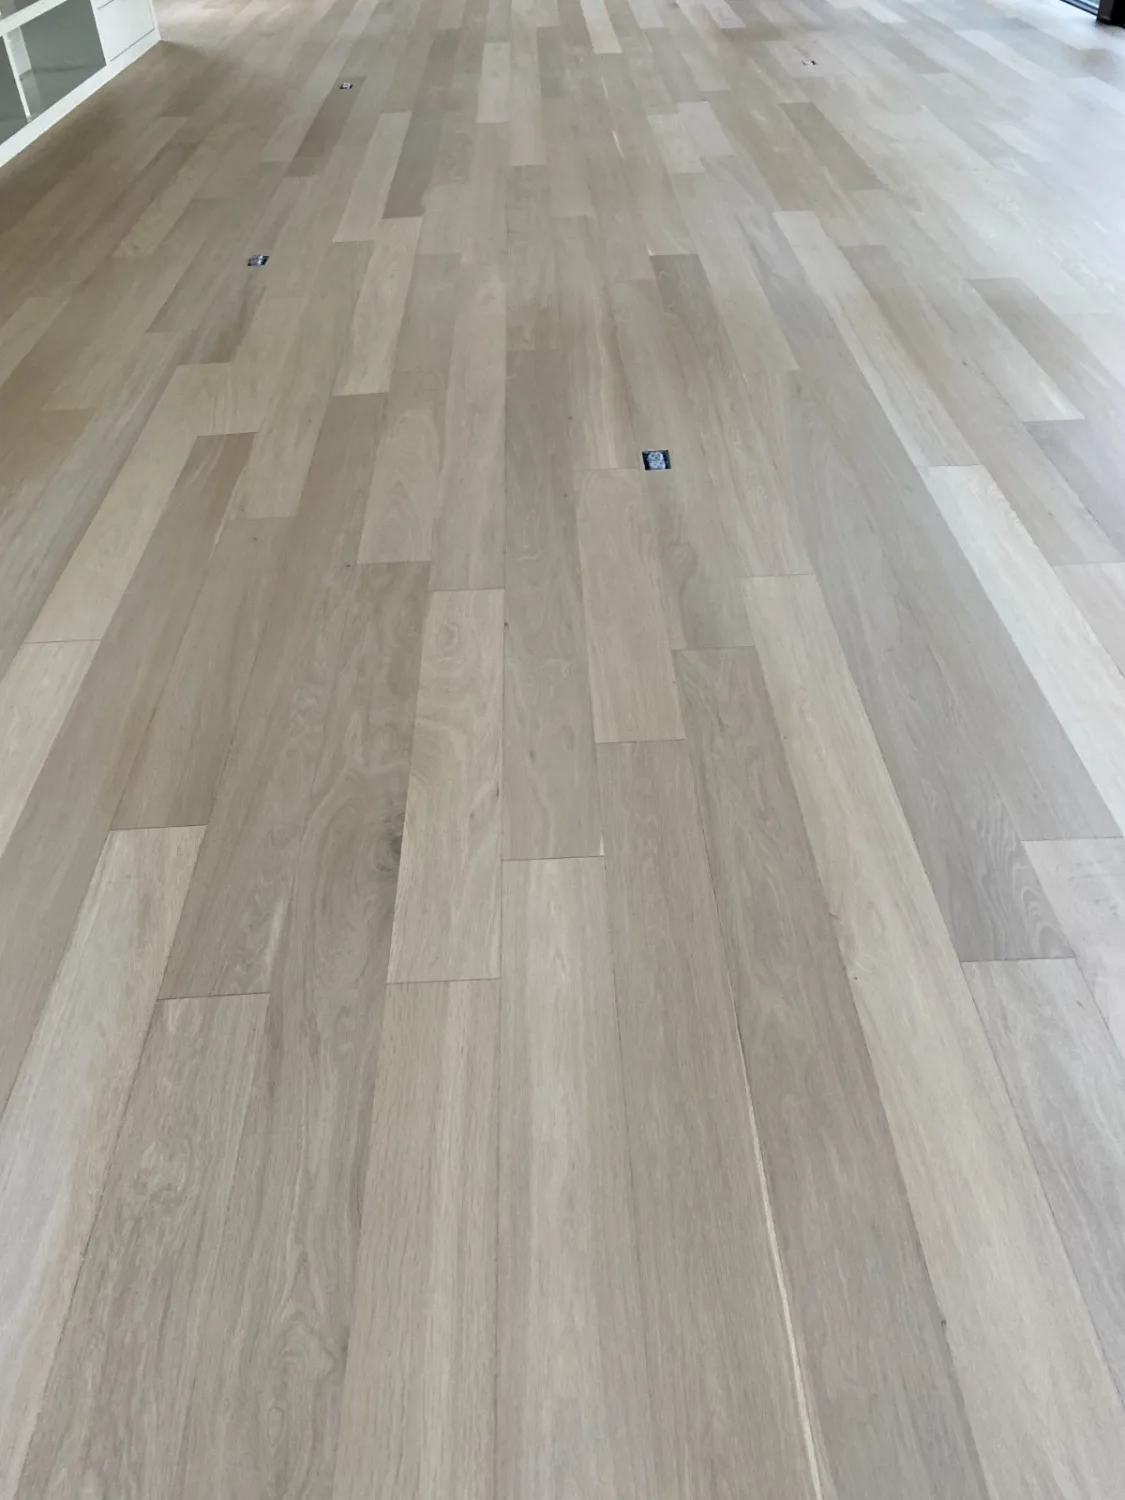
Sanding is the step that removes surface wear, finish buildup, surface scratches, and minor unevenness. After a sand, the floor is back to raw wood — ready to be stained, finished, or sealed however you want.
Sanding alone usually isn’t the end product — you’ll want a finish coat applied afterward. That’s what makes it part of a complete refinishing service.
- Removes old polyurethane, wax, and stain
- Erases surface scratches and minor dents
- Flattens slight cupping or warping
- Resets the floor for a new stain color or finish
Our Process
How sanding actually goes.
Inspection
We check the floor’s thickness, identify damaged boards, and confirm there’s enough material left to sand safely.
Prep
Furniture moved or covered, doorways sealed off with plastic, HVAC vents blocked, baseboards protected.
Three-pass sand
Rough, medium, and fine grits across the field. Edges and corners hand-finished. Vacuum and tack between passes.
Final cleanup
Full vacuum, tack cloth wipe. Floor is now ready for stain or finish — we usually go straight into those next.
Ready to sand your floors?
Free in-home estimate. Dust-containment sanding from start to finish.
Request Free Estimate